
A little over a month ago, I got the Xiaomi 14 Ultra (and its camera grip kit) to replace the Xiaomi 12 Pro I was holding. On the one hand, the performance of my previous phone was a bit poor, with some of the games you know about dropping frames, especially with WeChat videos open at the same time, so it was time for an update. On the other hand, the previous Xiaomi 13 Ultra’s focus on photography really impressed me a bit, but I also saw some problems with the design of the phone, so I didn’t get my hands on it. And with this launch, I can feel that these previous issues, especially the center of gravity, have been greatly improved on the 14 Ultra. In addition, I have recently come to realize that not every moment of the day is suitable for carrying a camera with me when I travel. And cell phone photography is now quite sophisticated and can be a good complement to a camera for informal outings. This has given me a growing need to own a phone with better image quality.All of these reasons stacked together led to my decision to make my first purchase of the Xiaomi Mi 14 Ultra, which coincided with some recent work changes that coincided with a near two-week vacation to travel to Japan, and I got to experience the phone’s strengths and weaknesses in depth in the process.
Overall, the phone has quite a lot to offer, basically the same as all kinds of soft or non-soft reviews, whether it’s the dark light performance from the large aperture and large base, or the one-touch filming effect from the Leica Shadows (which is really well tuned!) , and all the optimizations on video shooting, anyone who has used this phone will basically agree.
So, the rest of the article will probably focus mainly on some of the phone’s minor drawbacks. That’s not to say it’s not a great phone, but the phone is so focused on specific uses that it’s not for everyone, or even most people. If you’re its target user, then these drawbacks are more or less tolerable; but if you’re not its target user, then any one of these drawbacks could be the final straw that weighs you down in terms of the experience. What works is what works best.
First of all, I’d like to mention that I chose the Xiaomi series over OPPO / vivo, which also focus on imaging flagships, because I’ve been using Xiaomi for many years – migrating data can be a pain, after all. But after migrating data and apps to the iPhone and back in the last few years, I still use Xiaomi phones, naturally, because its product positioning is a good fit for me: not necessarily a highlight, but a bucket of shortcomings that are long enough. So here we won’t talk about the choice between brands, but more about why I chose the 14 Ultra over the 14 or 14 Pro out of Xiaomi’s three new phones.
Xiaomi 14, the flagship of small-screen machines
First of all, let’s talk about the Xiaomi 14, a small-screen machine. In the relatively niche market of small-screen machines, Xiaomi can be said to have killed a bloody road. The Xiaomi 14 is so close to the 14 Pro in terms of configuration and design, while still being compact, that I almost didn’t wait for the 14 Ultra to be released and went straight for the machine; but I held off. One of the friends I traveled with on this trip was a photographer who uses the Xiaomi 14 as his main camera. Overall, although the Xiaomi 14’s main camera doesn’t have a one-inch bottom, the actual night performance isn’t too far off. The JN1 sensor in the telephoto range and the IMX858 used in the 14 Ultra’s telephoto range are not definitively different, and the telephoto end of our two phones looks half-assed, at least on the phone’s screen.
The only shortcoming of the Xiaomi Mi 14 (and also the 14 Pro) when it comes to travel photography is probably the lack of a telephoto with a focal length of 100mm or more. But if you’re just posting photos of your friends, a 3x telephoto with a 75mm focal length and a crop will be enough for most situations. So if you don’t have a strong need to use your phone as a camera replacement, the Xiaomi Mi 14 would be my most recommended everyday camera, bar none.
Xiaomi 14 Pro, big screen really an advantage
When it comes to the Xiaomi Mi 14 Pro, the high-complexity argument is that the 14 Pro has almost the same configuration and performance as the 14, and is an option for non-small-screen enthusiasts. The low-spirited argument is that the 14 Pro, as a large-screen machine, has almost no configuration that can pull it apart from the 14.
Even as I write this, I’m not sure there’s much to say about this machine.
I’m definitely more excited about the smaller screen anyway, so take it for what it’s worth.
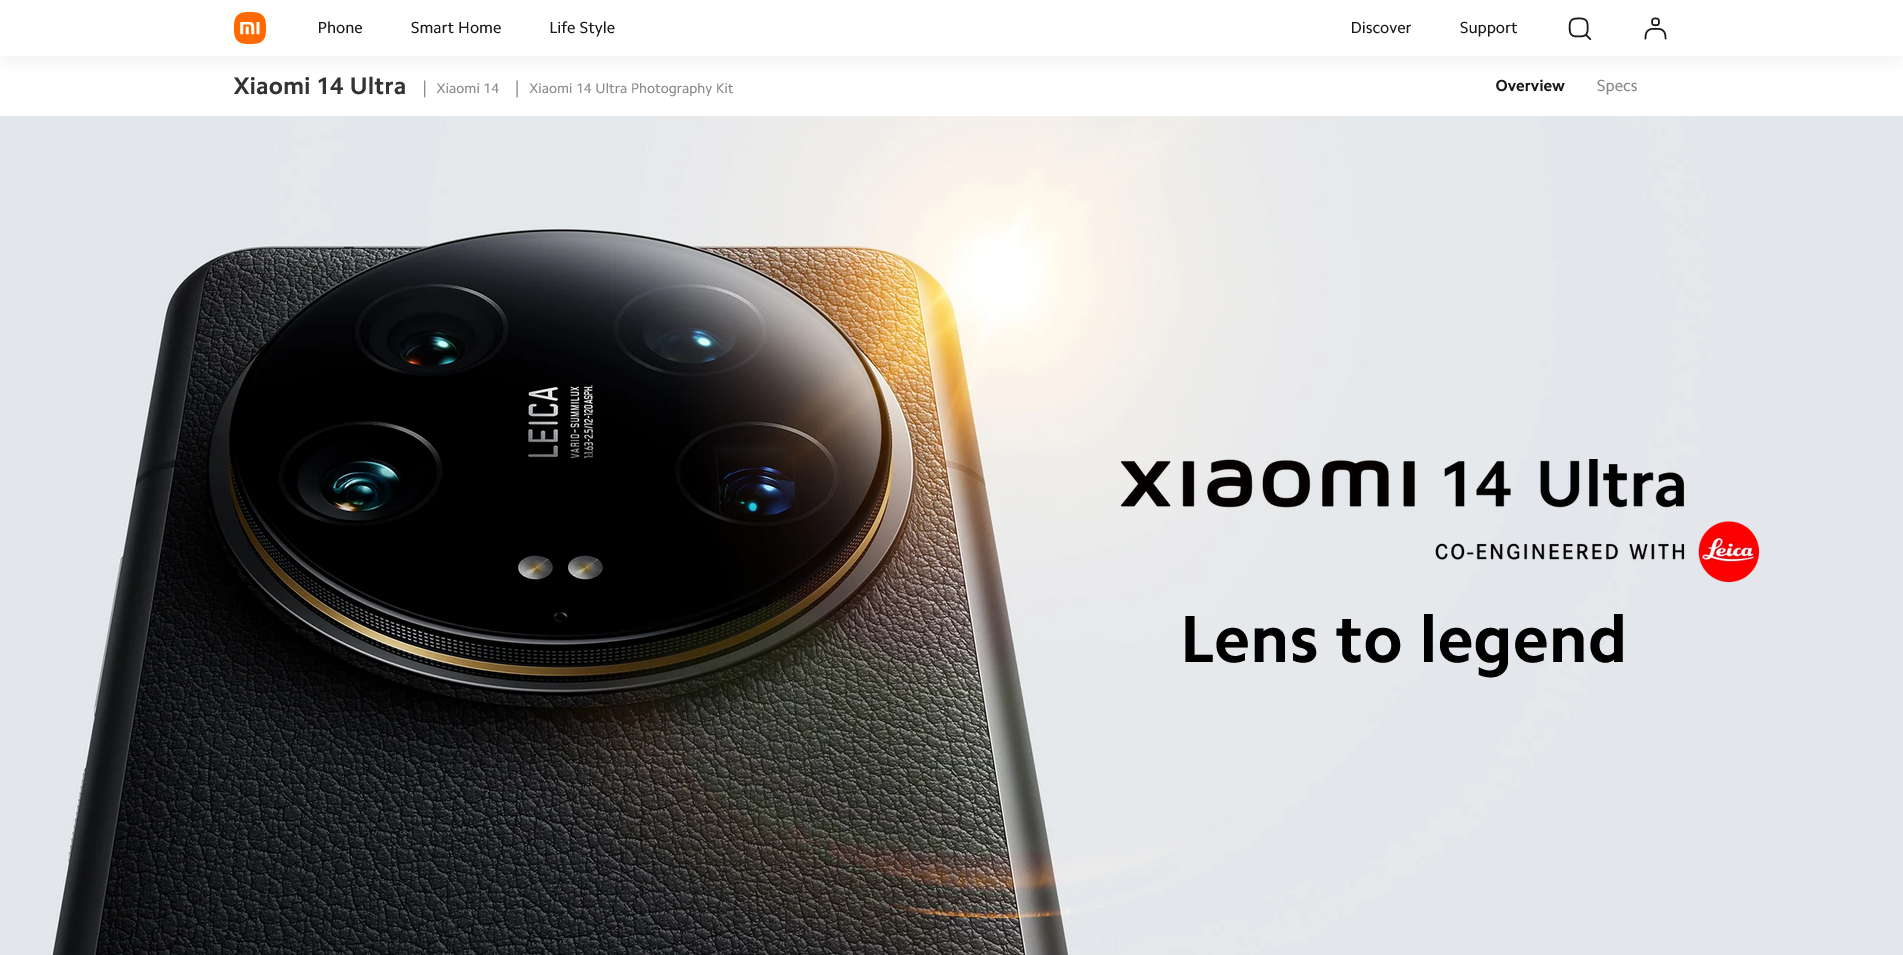
Xiaomi 14 Ultra, differentiation and versatility
Unlike the 14 Pro, the 14 Ultra makes enough differentiation. On the one hand, the larger aperture of several lenses and the one-inch outsole of the main camera don’t necessarily bring a visible improvement in the shooting experience in most scenarios, but at least they give people a sense of “I’m taking better photos” in terms of parameters. On the other hand, the added 5x telephoto provides the longest focal length view and compression commonly used in travel, while the slightly wider wide-angle end …… I’m a bit of a novice myself, and I don’t really know how to use the wide-angle end, but every millimeter of this wide-angle thing really does have its place, so someone should be able to ignore the wide-angle’s outrageous distortion and put it to good use.
One of the key optimizations of the 14 Ultra over the 13 Ultra is the revision of the previous head-heavy center of gravity design. I didn’t buy the 13 Ultra, but I’ve been to Xiaomi’s home quite a few times to touch it, and I can only say that anyone who wants to use the phone on a daily basis shouldn’t get the 13 Ultra, and the 14 Ultra’s changes are welcome: while the camera module is still huge, the overall center of gravity of the phone is reasonable, and even the underside of the lens makes for a good finger The 14 Ultra is a welcome change: while the camera module is still huge, the overall center of gravity of the phone is now reasonable, and even the underside of the lens makes for a good finger hold.
Of course, as a purely cell phone, I think the 14 Ultra’s large lens module still has its problems: it’s still heavy, it’s easy to touch the lens, it’s hard to hold horizontally, etc. I wouldn’t recommend buying this phone, either. I also wouldn’t recommend buying this phone and using it purely as a phone. But compared to the 13 Ultra, this generation is now at least as usable as it gets.
If there’s any other drawback that makes me feel uncomfortable all over, it’s probably the shaking issue with this lens module stabilization system. Although I know in my heart that it’s normal, and I know that it’s not going to be a problem in practice, the amount of shake is still hard to get used to, and I really haven’t seen a second cell phone or camera with this much shake noise from the stabilization system anyway.
To put it into perspective, if you were to shake your phone in a study room, I highly doubt the student next to you would blow you out of the room because of the clicking noise produced by the anti-shake system.
How to choose between the three phones
So in a nutshell, I think choosing between these three phones is simply a matter of following the following scheme:
First make sure that you are not a photography enthusiast who needs your phone as a camera replacement in certain scenarios, rather than just wanting to use your phone to record certain images in your life. If your intention is to use your phone as a camera replacement then consider the 14 Ultra; but if not, then I don’t see much point in acquiring the 14 Ultra.
Prioritize the 14 when you’re a small-screen enthusiast. or rather, if you’re a small-screen enthusiast, what’s the reason not to go for the 14?
If you’re not a fan of small screens, but you’re not going to use your phone heavily as a camera either, consider the 14 Pro.
I have to say, the photography handle is still eye-catching this time. However, after actually experiencing it, I think the photography grip is not as good as I thought.
The biggest advantage of the camera grip
First of all, the advantages, the adjustment dials and toggles are really cool! The configuration I used is that the adjustment dial is used to adjust the EV, while the adjustment toggle is configured to adjust the lens magnification in segments. This means that when you move the toggle, the focal length is adjusted between 0.5x, 1x, 2x, 3.2x, and 5x, rather than infinitely, which is in line with how I’m used to working with zoom lenses, which are fixed to a number of focal lengths for most scenarios, and come back to them in post if I want to crop them. I personally recommend that both cameras and cell phones use zoom lenses in this way as much as possible in the introductory stage, in order to quickly familiarize themselves with the range, compression and distance of the image of each focal length, and to lay a good foundation for the transition to a fixed focal length head.
But when you think about it, this is also in part because Xiaomi’s camera software interface to adjust EV and focal length is not comfortable to operate. Especially with the current generation of Leica colors, correctly adjusting EV is a top priority when shooting, and EV adjustments require manually clicking + dragging in a position away from the shutter, and even a second click if you want to exit the adjustment.
Shutter button not as good as tapping the screen
The shutter button on the grip is the worst feature I’ve experienced.
The long stroke, the force of the trigger, the fact that my left hand is supposed to have a false grip in order to avoid blocking the lens, and the slippery faux-leather of the grip itself all contribute to the fact that pressing the shutter button will almost certainly result in the camera moving downward a short distance, which will deviate from the original composition.
Because of this, I still almost always tap the screen to trigger the shutter when using the grip. This is arguably one of the worst designs of this grip.
Other highlights in the grip’s design
Aside from the buttons and toggles, there are a few other highlights in the design of this grip.
First of all, the grip comes with a special faux leather case that has a small hollowed out hole in the back to accommodate the grip’s locking clips. The hole is positioned in such a way that it reveals the Xiaomi logo on the back panel of the phone – I’m sure all the students who put on this case for the first time will smile when they see this little hole.
Also, there is a removable metal ring around the camera module on the back of this case. One of the main features of this metal ring, besides the fact that it can be swapped out for other colors (I purchased a white case that came with a silver and gold ring), is that it can be swapped out for a filter adapter ring that directly adapts to the camera filters! Although I haven’t used it once, this would fall under the “I can do without it but you better have it” feature. Even if you don’t use it, it’s still a great way to show off your camera, even if you don’t use it.
Quality control
After talking about the functional design features, we have to talk about the poor quality control of this handle. The first batch of quality control is not good, but also a common problem of many Xiaomi supply chain products.
I purchased the grip together with my phone, so I should have gotten the earliest batch of products. As a result, I encountered a variety of quality control issues during use.
The first issue that not as many people have mentioned is that the removable metal ring mentioned above is very tight when removing it. The way this metal ring is removed is somewhat similar to a camera lens: there’s an unlock button that you can rotate the ring to remove it in the pressed state; and when installing it, you rotate it to the button position and it clicks into place.
And the problem I had was simply that the fixture for this button was too tight. When the case is mounted on the phone, there is a gap between the case itself and the phone, so even if the button is pressed with more force, the deformation of the case itself results in no way to press it to the bottom, thus no way to unlock the metal ring at all! And after removing the case, you also need to hold your other finger against the back of the button while pressing it with a lot of force to unscrew the metal ring.
I’ve also seen some online reviews mentioning that their metal ring encountered the opposite quality control issue, which was that it was too loose resulting in a certain amount of wobbling without removing it. O Xiaomi, grow a pair.
The second issue is the battery charging logic mentioned in many reviews: the camera grip prioritizes charging the phone, which leads to the camera grip continuing to charge the phone until it runs out of battery when the phone is less than 80% charged. The joystick doesn’t reserve another battery for its normal functions, so you’ll find that the joystick fails to work after a short while of shooting.
This issue is said to be improved in the new firmware, which was just pushed out a few days ago. And for a number of reasons that will be mentioned later in this post, I wasn’t able to experience if this issue has been resolved on this trip, so I’ll have to wait for a follow-up opportunity.
The third problem is disconnection, which has been reported by many people, and I never thought that the Type-C port connection would have disconnection problems. I was surprised to learn that the Type-C port was disconnected as well. The problem was resolved by re-plugging and unplugging the grip, and there seemed to be a small chance that it would need to be plugged and unplugged multiple times. Because the handle itself has a catch (I don’t know how it can be disconnected with a catch?). , it’s still quite a hassle to have to unlock and lock it again each time I plug and unplug it.
The fourth problem is the most fatal, and the key reason why I didn’t take the handle with me on this trip: after a week of not using it, the handle just wouldn’t charge!
I realized this problem when I was about to leave, not only the handle itself could not be charged, but also when I connected the handle to my cell phone, neither the handle nor the cell phone could enter the charging state.
Because of this, I hastily applied for Xiaomi’s after-sales service that night before I was about to leave, and left the grip at home for my wife to give to the courier for me. Because it was so sudden, I didn’t even have time to find all the accessories (meaning the box and the other two metal rings), leaving only the phone case and the grip body.
Surprising after-sales repair
The problem was annoying, but Xiaomi knew they had a quality control issue with the grips, so the repair process was straightforward: they sent me a new set of grips.
I’m very happy with the result, but the only thing I’m sorry to say is that I should have known better than to return the case, which would have cost me 30 bucks on its own.
The new grip hasn’t broken the connection, at least so far. But as I said above, I don’t have much chance to test the battery life and stability of the joystick, so I’ll have to wait for the next time I go out.
After all this miscellany, it’s finally time to start talking about the photography experience.
After more than a month’s experience, the way I use this phone has basically been fixed: use the default photo mode, choose the right focal length, compose the picture, slightly adjust the EV, occasionally choose the focus according to the situation, and take a picture.
Overcomplicated pro mode and undercomplicated default mode
Since JPEGs really don’t have much room for post-production, I tried shooting in Pro mode and storing UltraRAW images at first. But after using it a few times, I realized that even with the camera grip, the number of actual dials and toggles available on the phone is still too small. And for the Pro mode (which is basically the camera’s M mode), where every parameter needs to be finely tuned, the complexity of operating it on a cell phone is just too high.
In addition, in order to try UltraRAW, I also once put a photo into Lightroom to do the post, and found that my post effect is almost exactly the same as the Leica Shadow at that time of straight shooting – it can be said that my current post technology is not bad, and Leica Shadow’s effect is not comparable to that of the Leica Shadow; the other way around, it can also be said that the Leica Shadow is the same as that of my post, and it can also be said that the Leica Shadow is the same as my post. say that the Leica Shadows were so much in line with my thinking that I could basically just use them straight out of the box.
So then I started to give up my resistance and just use the default mode to take pictures without adjusting anything except EV, and the result was more comfortable. I was able to take good photos of many scenes where I didn’t have time to think, and I was able to focus more on composition. At the same time, the fact that the Pro mode doesn’t have a way to automatically attach a watermark is probably one of the reasons I don’t want to use it.
Of course, the flip side of the coin is that only the EV adjustment is needed, which means that the EV adjustment is the most important part of the shot. You’ll have to decide how many stops to raise or lower the EV, depending on how you want the photo to look in terms of shadows and how the highlights and darks appear in the photo, but after all, there’s only one parameter that needs to be adjusted, so it’s already pretty easy to get used to.
In addition, I still hope that Xiaomi will make the histogram and zebra stripes down to the default mode in subsequent firmware iterations. After all, looking at overexposed and underexposed areas on a cell phone screen in the sun is still a little too difficult sometimes.
The darkness problem with Leica shadows
The tonal scheme of Leica Shadows, in my opinion, preserves the saturation of red and orange tones while pulling up the contrast, depressing the highlights and suppressing the saturation of most colors.
This is naturally not perfect, for example in some scenes with high light ratios the darks are often too dark. While it’s not uncommon to import it to a computer and zoom in to find it really blacked out, there are times when it still looks bad on a phone screen. In addition, there are some scenes where the highlights happen to be red, which can lead to further contrast, and thus the darks may actually be too dark.
Of course, if there is a large backlight, a similar situation will occur. But the original backlight shooting and want to retain the dark part is not the right approach, more often use the camera to shoot the same stack, put on the phone if the subject area is relatively small, it is difficult to trigger HDR, here will not be expanded.
Primaries not as good as telephotos? An analysis of distortion and aperture
During these two weeks of shooting, I could also notice a trend: 1x primes were used less and less and 3.2x telephotos were used more and more. The 2x and 5x primes cropped from the primes are usually used as supplements, while the 0.5x wide angle is hardly ever used.
The result of this focal length is naturally a matter of my own shooting habits, for example, I spend most of my time with the 24-70 locked at the 70mm end, with the occasional use of the 35mm, and the 24mm not too often. But in terms of usage, I think there are some problems with the 1-inch baseplate prime and the 0.5x wide angle lens.
First of all, even the main lens has too much distortion. The distortion of the 0.5x wide-angle lens is even worse, and I couldn’t even find a single sample image after searching for half a day. I’m not sure if this is the case for all phones with wide-angle heads due to the size of the hardware, but it does actually make it a lot less usable.
Secondly, because the aperture of the 3.2x lens was given a large enough aperture this time around, the IMX858 performed well enough, and perhaps because the overall shadows this time around were on the lower end of the scale, all of this resulted in the large primary camera not being a necessity for nighttime shots. Many times as long as the light is not dark to a certain extent, 3.2x lens shooting effect is as good, such as the following photo.
As a comparison, the 5x lenses are far less impressive. For example, in the photo below, the auto shutter speed came to 1/8s, which resulted in the entire photo being blurred. If the 3.2x lens is also this amount of light, I’m afraid that night scenes will have to rely on the main camera, this telephoto aperture is probably one of the few significant advantages of the 14 Ultra over the 14.
Too slow a shutter speed
Back to the photo above. A closer look at the parameters in the watermark reveals that this photo exposes a recurring problem with the Xiaomi 14 Ultra: I don’t know if it’s because the high sensitivity is just not good enough, but when the sensitivity comes to around 1000, the phone’s algorithms would rather lengthen the exposure time than increase the sensitivity a bit more.
Shooters with some experience know that in a handheld situation, rather than lowering the ISO and lengthening the shutter speed to minimize noise, it’s better to lower the shutter speed to a safe range and then raise the ISO. after all, no matter what, it’s more important to get the shot than to get a good shot, and a muddy picture is completely unusable, which is the same as not getting the shot at all.
If I get a chance in the future, I may turn on the Pro mode to try the effect of high sensitivity in dark light, to see if it’s just a mistake in the camera’s parametric strategy, or if there really is an inevitable reason for it.
In addition to the photographic experience described above, I have also tried to document some other experiences during this time.
Some of these well-known issues, such as the wobble noise of the anti-shake system, have already been mentioned above, so I won’t repeat them here.
Phones always take a few bumps and bruises while traveling. Whether it’s because I put it in my pocket crookedly, or I bumped into someone when I lifted my hand, my phone fell from almost chest to waist height three or four times during the two-week trip.
But as most of the drop tests show (and my phone wasn’t naked, it was protected by a case and the original film), there was no damage to either the screen or the lens in any of those drops. When I think of the Xiaomi 10 series, which had its screen shattered by me, I can only say that the curved screen has no advantage other than being handsome, and micro-curved is the right solution!
Unfortunately, these drops resulted in some contusions and bubbles on my stock screen film, as well as a slight crack in the stock clear case.
Problems with photo post editing
Since I basically use normal mode JPEG straight out for all my photos now, importing to Lightroom for post-production is not so necessary. At the same time, Xiaomi’s Photo Album app also provides good enough editing features to meet most of the post-editing needs.
However, in the process of using it, I still encountered some uncomfortable places in the interactive design of the software.
The first problem is that after a photo is edited once, a new file is saved with the editing time as the filename. Although the albums seem to be sorted according to the time of shooting, so you can still see the edited photos and the photos taken at the time of editing are arranged together, but after copying to a NAS or a computer hard disk, it is difficult to distinguish which photo is edited and which photo is edited according to the filename. And the edited photos don’t have special file names, they look just like directly taken photos, which is really weird.
Secondly there is also a problem with saving after editing. Usually when editing a directly taken photo with a watermark, Xiaomi’s Albums app will automatically remove the watermarked portion, display the photo itself in the interface for editing, and re-add the watermark according to the settings after editing. But at this time, if you want to edit this edited photo with a watermark again, you will find that the watermark has also become part of the photo to be edited, and all the functions of cropping, adjusting the brightness, adjusting the color, will also act on the watermark. At this point, you can only manually crop out the watermark part, or re-edit the original photo to solve the problem, but either way is very troublesome.
For example, in the following picture, the left side is the interface of cropping and rotating when editing an original picture, while the right side is the interface of cropping and rotating when editing a saved picture after improving the contrast of the original picture and saving it once. Both the pre-edited and post-edited images are watermarked. However, the pre-edited image will be able to remove the watermark automatically in the Crop & Rotate interface, while the post-edited image will be cropped together with the watermark.
Then next or a watermark related issue. Simply put, the font and spacing of the watermark generated at the time of shooting is not exactly the same as the watermark after secondary editing. I’m not sure how to explain this.
Finally, I’ve also had a couple of more occasional problems with inaccurate positioning. A series of photos I took in Kyoto, Kobe, and other areas turned out to be mixed in with a couple of photos that were positioned as Tokyo – yet my destination for this trip was Kansai, Japan, and I hadn’t been to Tokyo at all.
None of these issues, big or small, seem all that critical, and I’m not sure when Xiaomi will fix them in a system update. Let’s hope that someday these issues do get fixed.
Since I mentioned MIUI+ earlier, I’ll also mention the Xiaomi 14 Ultra’s experience with MIUI+ in passing. Xiaomi’s delay in opening up MIUI+ to PC systems other than Xiaomi laptops has always been a subject of criticism. After replacing the 12 Pro with the 14 Ultra, the previous MIUI+ suddenly stopped working, and the phone would prompt “current PC app version is too low” when connecting. I couldn’t do anything about it. After that, I turned on my computer and found that a new version of MIUI+ had been pushed in the app. After upgrading to the new version, although I still get the above error when I scan the code to connect, the connection prompt pops up on my phone, and all the functions work normally after I confirm the connection. The only problem is that if you select an online phone from MIUI+ on your computer to connect to it, the prompt will not pop up on your phone. This means that each time you connect, you need to rescan the QR code on the computer with your phone. But that’s a minor issue, and it’s better than nothing to be able to use it.
Published by YooCare Editor on April 18, 2024 12:35 am, last updated on April 18, 2024 12:40 am